Hello world!
Welcome to WordPress. This is your first post. Edit or delete it, then start writing!
Communities

At 259, we ensure the spaces of our properties are conducive to the wellbeing of our residents.

Our team lives in-community, so rest assured that your services comes from owners just like you, who intereact and live in the local community of our homes.

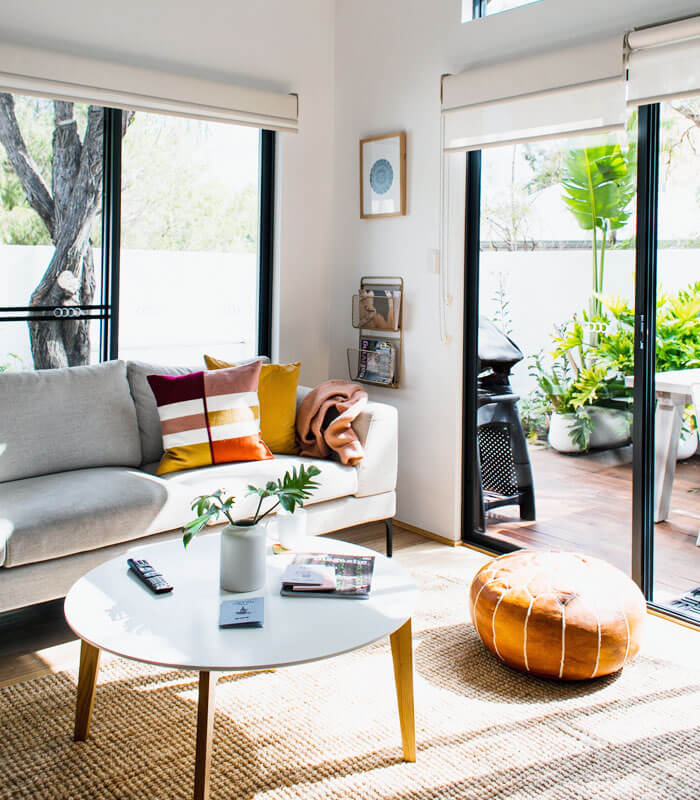
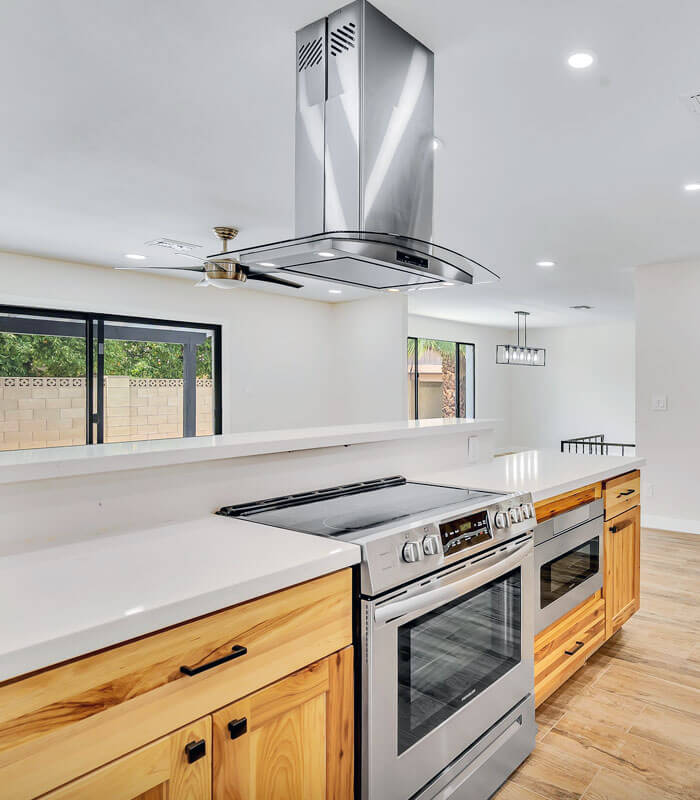
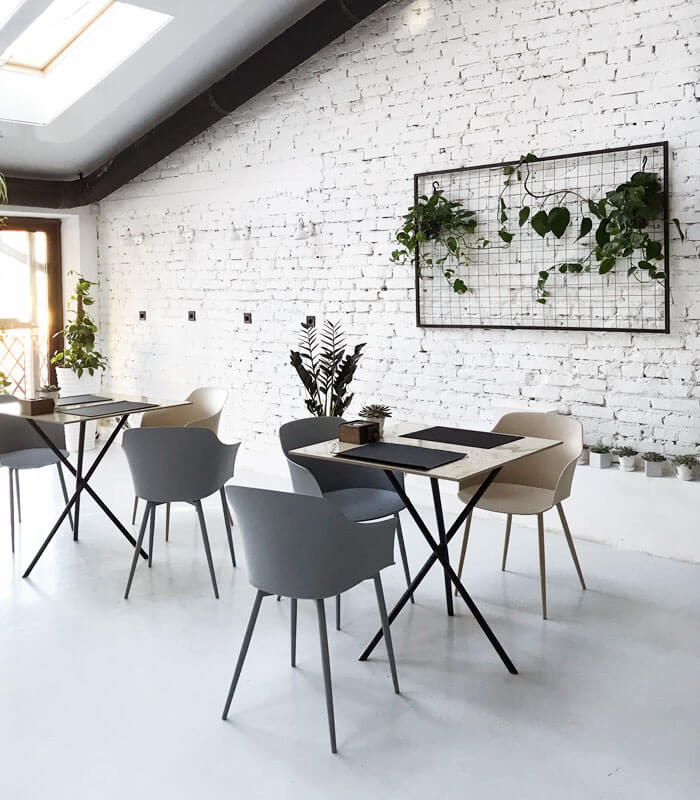
We offer both furnished, ready-to-live-in units as well as traditional offerings to view before moving in.
Our Portfolio

Testimonials
"You guys are legendary! You guys are great and having amazing support & service. I couldn’t ask for any better. Thank you!"

"You guys are legendary! You guys are great and having amazing support & service. I couldn’t ask for any better. Thank you!"

"You guys are legendary! You guys are great and having amazing support & service. I couldn’t ask for any better. Thank you!"

Recent Updates
Welcome to WordPress. This is your first post. Edit or delete it, then start writing!